 |
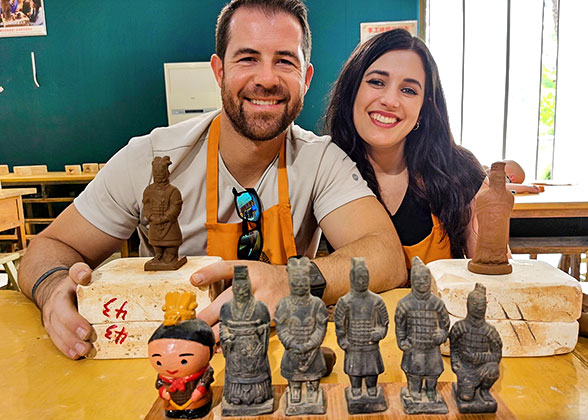
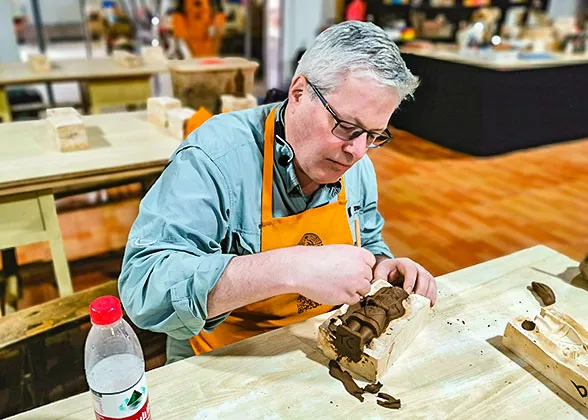
| Our guest is making terracotta warrior figure. |
The creation of the terracotta warriors involved a complex and systematic manufacturing process that combined local yellow clay with advanced techniques. The figures were built in segments, starting with the feet, legs, and torsos, then separately molded arms, hands, and intricately designed heads. After carefully carving facial features and clothing details, these parts were assembled with remarkable precision. The sculptures were then fired in kilns under strict conditions and vividly painted to create a lifelike appearance, showcasing the exceptional craftsmanship of the Qin dynasty (221 - 207 BC) over 2,000 years ago.
7 Steps to Make the Terracotta Warrior Figures
Step 1: Select Materials
Experts have confirmed that the main material used for molding the terracotta warriors and horses was local "yellow clay" taken from the northern foothills of Mount Li, near the mausoleum of Qin Shi Huang, indicating that the materials were obtained on-site. This type of yellow clay was readily available, highly plastic, and easy to shape. To enhance its strength and prevent cracking during drying and firing, a certain amount of grit containing quartz, mica, and feldspar was mixed into the clay. This mixture makes the material solid and more suitable for crafting large terracotta figures.
 Read More: Were the Terracotta Warriors Made of Real Human Beings?
Step2: Make the Terracotta Warrior's Lower Limbs and Torso
The bodies of terracotta warriors were built from the bottom up in layers. The process began with the footboard and feet. Some figures had their feet formed directly on a footboard, with an uneven joint left at the ankle to attach the legs later.
The lower legs of the terracotta figures can be divided into hollow and solid types. The hollow lower legs were made either by rolling a flat slab of clay into a cylindrical shape or by coiling strips of clay on top of each other to build the form. The solid lower legs were typically shaped by rolling and rubbing clay into a solid mass, then carving and smoothing the surface. The lower legs were often attached to the feet and showed visible joining marks.
For the body, a base was first constructed around the knee area and built upward from the upper legs. The body was formed using one of two methods: either by continuously coiling clay strips upward from the upper legs until the shoulders were reached, or by constructing the upper section from the waist to the shoulders and the lower section from the upper legs to the waist separately and then joining them at the waist. To ensure firm bonding between the clay strips, artisans used patting and hand-pressing techniques, leaving dense fingerprints on some figures. Besides, the body remained hollow inside.
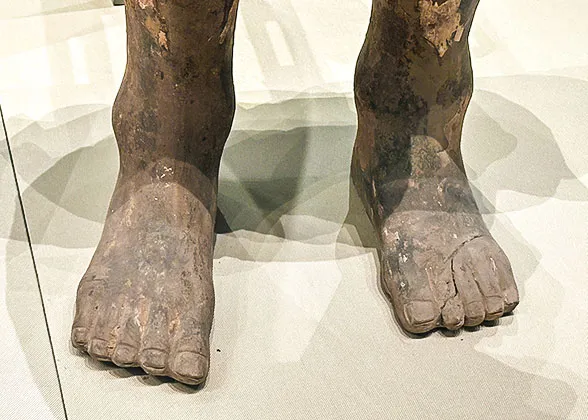 | | Feet of a Giant Acrobatics Figure | | 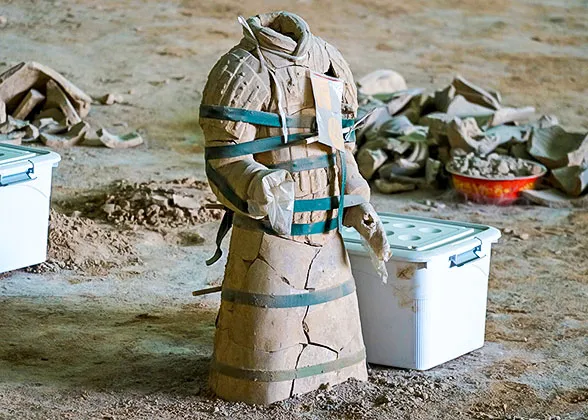 | | Torso of Terracotta Warrior | |
Step 3: Make the Arms, Hands, and Heads Separately
The arms of the terracotta figures include straight arms and bent arms. Straight arms were molded in one piece, while bent arms were made in separate pieces, divided at the elbow and joined after shaping. The hands were also made by molds as straight arms, often using molding or a combination of molding and hand-sculpting. After being dried in the shade, the hollow arms were attached to the body, and the hands were inserted and pasted onto the arms.
Additionally, the heads were among the most challenging parts to create. Two main methods were used:
1) Molding: The head was divided into front and back sections, each shaped in a mold with the join line typically around the ears. Clay was firmly pressed against the inner surfaces of the molds to form a hollow structure. The neck was either made together with the head as one piece or shaped separately and later attached to the head.
2) Molding with hand-sculpting: The face was pressed in a single mold, while the back of the head was formed into a bowl shape by hand. The two parts were then joined. Additional details like ears, hair buns, and the neck were made individually and attached.
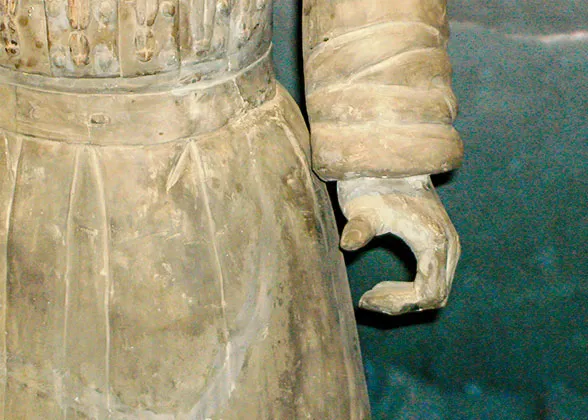 | | Vivid Hand of a Terracotta Warrior | | 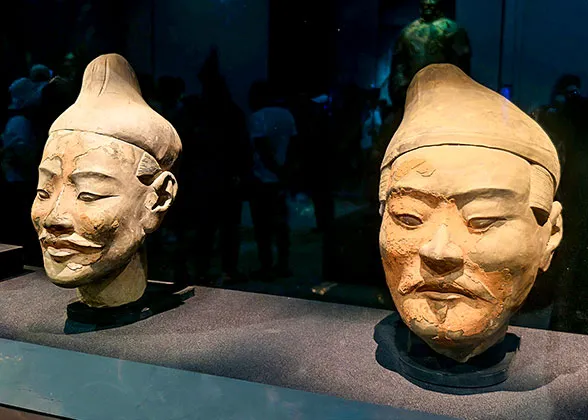 | | Heads of Terracotta Warrior Figures | |
Step 4: Carve the Details
After the initial shaping of the terracotta figures was completed, artisans meticulously carved the details of each part. This included the eyebrows, eyes, facial expressions, mustaches, ears, hairstyles, and headgear on the heads; as well as patterns on the armor, collars, belts, boots, and guards of the torsos and limbs. Through such detailed carving, the clothing, posture, and expressions of the terracotta warriors were vividly portrayed, making each figure lifelike and unique.
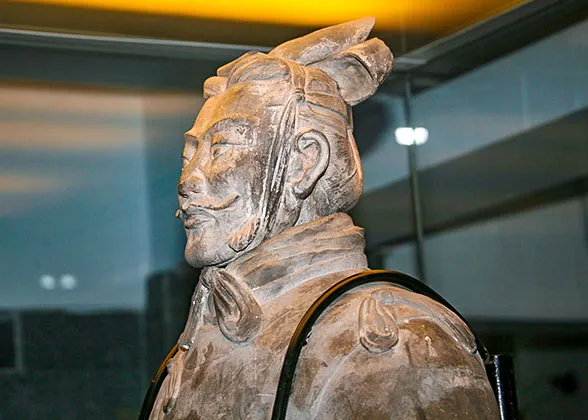 | | Facial Details of High-ranking Officer | | 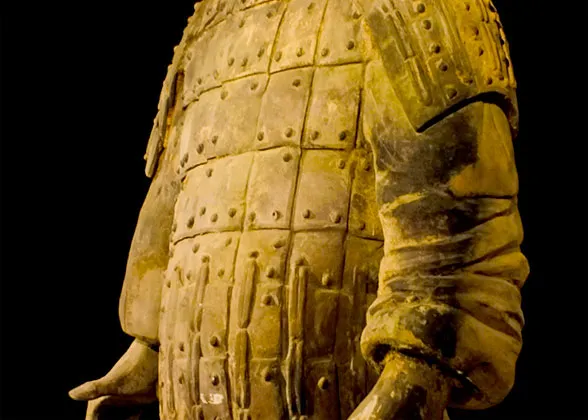 | | Exquisite Armor of Terracotta Warrior | |
Step 5: Assemble the Separately-crafted Parts
The arms, hands, and heads of the terracotta warriors were individually crafted. Once each part was completed and finely detailed, the hands were inserted into the wrists, the head was attached to the collar opening, and the arms were joined to the body, each connection being reinforced by applying an additional layer of fine clay. Only when all these components were assembled was the initial production of a complete terracotta figure considered complete.
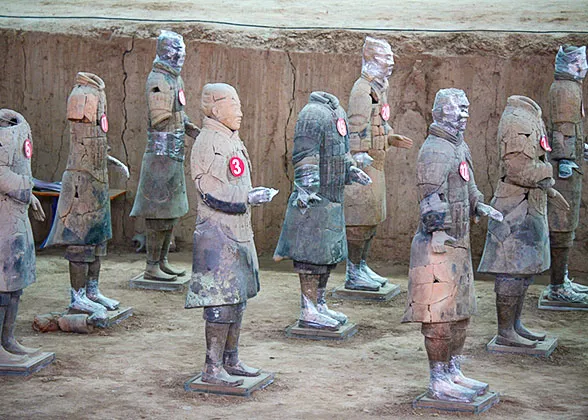 | | Assembled Terracotta Warriors | | 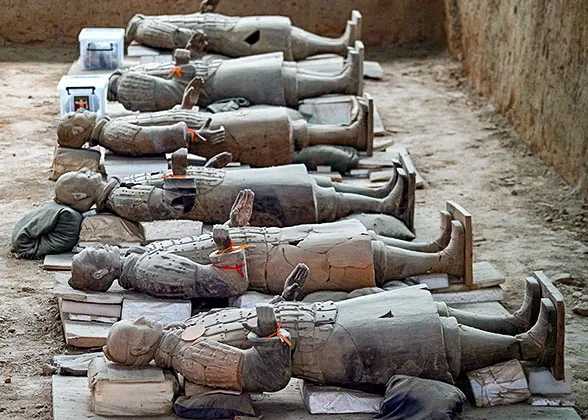 | | Complete Terracotta Figures | |
Step 6: Firing in Kilns
The terracotta warrior figures were fired in kilns. To ensure even heating, the Qin artisans left small vent holes
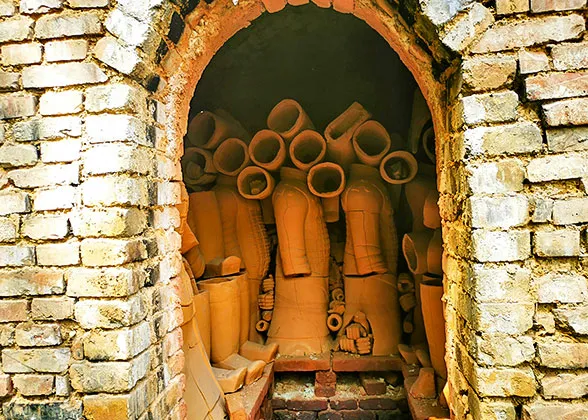 |
| Kiln to Fire Terracotta Warrior Figures |
in suitable locations on the sculptures. For example, holes were made in the neck area, allowing flames to enter the internal cavity and distribute heat more uniformly. During firing, special attention was paid to temperature control, which was maintained at approximately 1,000°C (1,800°F). Moreover, experts have conducted experiments that revealed that the figures were placed upside down in the kiln. This was because the upper part of the figure was heavier than the lower section. Inverting the figures during firing improved stability, which shows that Chinese craftsmen had already mastered the concept of center of gravity over two thousand years ago.
Step 7: Glazing and Coloring
The Qin terracotta warriors we see today are mostly steel gray and lack vibrant color. However, archaeological findings indicate that this was not their original appearance. During the coloring process, a layer of gelatin was first applied as a primer. Colors were then layered on top: the face, feet, and hands typically received two to three coats. Most faces shared a similar tone, while hair, buns, and braids were usually painted with a single layer of black or gray-blue. Eyes were first painted white, and then the pupils were defined with ink color. Clothing was often finished with a flat layer of red, light green, light blue, or other colors. Overall, the coloring was applied evenly in a flat wash style, using a bright and lively color palette to enhance the vividness and realism of the terracotta warrior figures.
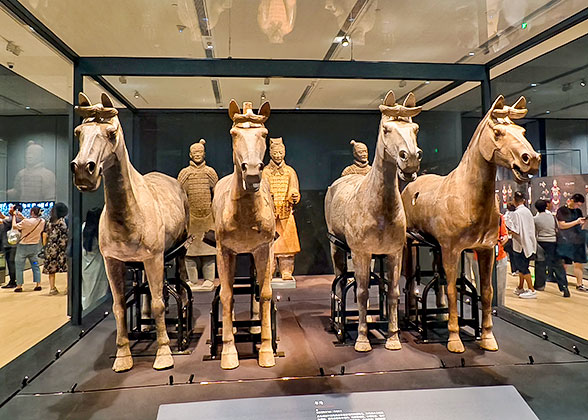
The process of making terracotta horses was largely similar to that of the terracotta warriors. The heads, necks, bodies, legs, and tails of the horses were crafted separately and then assembled with clay slurry. After detailed carving and decoration, the horse figures were fired in kilns. The final step involved applying colorful paintings to complete the terracotta horses.
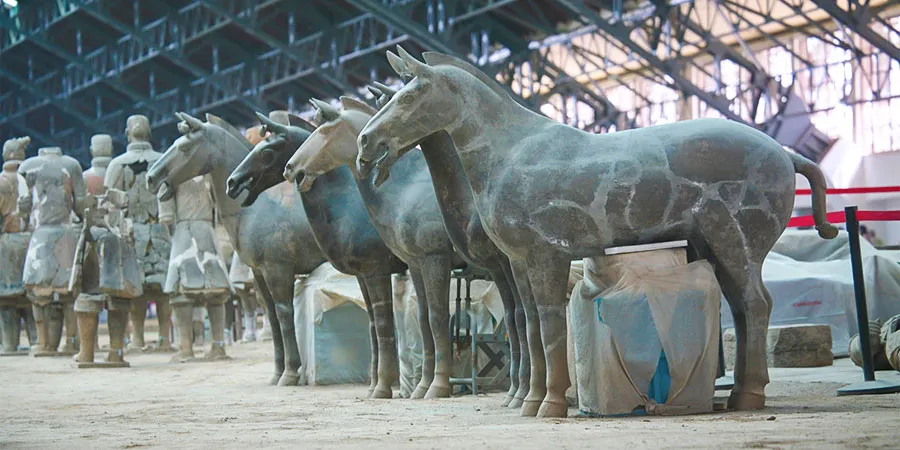 |
| Terrocotta Horses in Pit 1 |

Further Reading:
Discovery of Terracotta Army Who Built the Terracotta Warriors? How to Repair the Damaged Terracotta Army Statues How to Protect the Terracotta Warriors Secret Revealed from the Ears of Terracotta Warriors How did the Terracotta Army get burnt and destroyed? Let's Smash the 5 Rumors of the Terracotta Army How tall are the Terracotta Warriors? How to Visit Terracotta Army - A Perfect One-Day Tour Plan
- Last updated on Oct. 09, 2025 by Doris Xue -